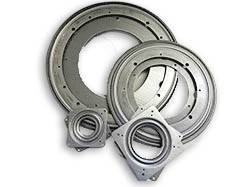
| Standard 3", 4", 9" & 12" sizes | 9" and 12" sizes |
| Make a trial assembly to determine screw length needed to avoid contact with the opposite surface.
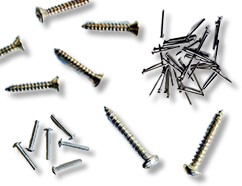
A) Use the smallest holes in the bearing as a template to mark turntable for blind fastening. Drill these holes for self-tapping sheet metal screws.
B) (Optional) Lubricate bearing balls with oil or grease (depending on freedom of rotating action wanted). This will help with noise reduction. C) Mount bearing on base with wood screws of satisfactory length. D) Attach turntable to mounted bearing with self-tapping screws. |
Determine the correct length of screws for the turntable and base thickness.
A) Lay the bearing on the turntable and mark location of holes through the large access holes. B) Position the bearing on the base plate and mark the holes; also mark the access hole. C) Remove the bearing to prevent contamination from sawdust and predrill all holes. Drill the access holes in your base plate. D) Assemble bearing to base plate. E) Assemble screws though the access holes to the turntable plate. ALTERNATIVE is to use speed nuts on the bearing and assemble the top turntable plate with #10 flat head screws (don't forget to countersink) |
| Other fastening methods include: hot melt glue, pop rivets, double back foam tape, and rubber bumper feet. | Shipping Precautions: Dropping an assembled lazy susan during transit may create forces that damage the bearing. Proper packaging is a must! |
| Caution: SAWDUST IS BAD. Protect balls and races from sawdust, dirt, paint, etc. Should the bearing become "rough" from dirty races, flush thoroughly with hot soapy water, rinse, oven dry and re-oil. |
|


 Cart
Cart